Showing posts with label Tutorials. Show all posts

Sunday, December 27, 2015

Fresh Faced Makeup Tutorial~

Hi everyone~
I hope you all had a lovely Christmas (to those who celebrate)~ I'll have a post up about all the lovely things I got for the holidays in a little bit, but first, another makeup tutorial!
I want to do more of these in the future~ For this look I decided to go for a youthful, fresh-faced sort of look. I hope you like it!

I was trying to go for the sort of youthful look from the late 20th century~ The main points of the look are fluffy brows, minimal eye makeup, and a gentle flush. Here are some more photos!

You can't really see the makeup here, but I like how my hair looked~


Anyways, I hope you liked the video! 
Thank you for reading/watching! ^.^
Byes!

Friday, December 18, 2015

Aegyo Sal 2 Ways Kawaii Makeup Tutorial~

Hello~
I realize that it's been quite a while since I did my last makeup tutorial, so I decided to do a quick one ^.^
Aegyo sal is a makeup trend that originated in Korea, but it's slowly been spreading around the world. It's key point is that it emphasizes the tear-bag puffiness under ones eyes for a cute, slightly sleep deprived look. I think when done right, it draws a good amount of attention to the eyes, so I thought I'd do a tutorial for two different ways you can achieve the look~ One way is using the Etude House Dear Girls Cute Eye Maker (which is for the purpose of aegyo sal), and the other way is just by using some neutral eyeshadows (from the Naked Basics palette by Urban Decay)
I hope you like it! <3

And of course, what would a post be without an excessive amount of selfies?

Here are photos from the first method, using the Etude House product~

I think that this product creates a really subtle look that's a bit difficult to build up on. However, if you use actual eyeshadows, you can have a bit of a stronger color (or a lighter one, if that's what you choose)
Here are photos from the method with the neutral eyeshadows~
(Not sure why I have so many more photos of this look than the other.... oops)


Anyways, thank you so much for reading!
And if you liked my video and you haven't already, please subscribe <3
Byes!

Wednesday, November 11, 2015

Magic-Eye Twister Black Lens Review, Electric Purple hair, and Get Ready With me {Sponsored}~

Helloooooo cuties~
Whoo, lots of things to write about today!
Over the weekend I tried to do a touch up for my taro- hair, but it turned out super electric purple. I decided to roll with it and film a get ready with me video for a sort of kawaii/grunge kind of look, so I'll post that at the end of this post!
For now, I'll begin with a review of the lenses, kindly sent to me for review by Klenspop~
Let's start!
Yep, that's my hair color! >u<
Today's lenses are the Magic-Eye Twister lenses in black~
The lenses came packaged as usual, in a cute box, with a circle lens case, as well as a pair of lens tweezers (which are really useful if you have long nails).

The design of these lenses is quite nice and simple- perfect for everyday wear I think!
And some basic lens info:
Diameter: 14.0mm
Graphic Diameter: 13.3mm
Base Curve: 8.6mm
Shelf Life: 6 months
Water Content: 38%
Manufacturer: Polytouch
Price: $18.00 USD
Here are some photos of how they look on my eyes~ I think these look quite natural on darkish eyes- I'd be curious too see how they are on light eyes!
In room lighting
In window lighting
With camera flash
Even with camera flash, these look quite natural, which I like about these lenses. You can wear them to just have a bit of emphasis on your eyes, without looking like a crazy bug eyed creature :3
And of course now, my favorite part, excessive selfies! I really like how these lenses look on my eyes so I took a lot of photos >u<


I used a filter that for some reason made the purples green... I do like this color though >u<

Before I dyed my hair~


Overall, I'm really happy with these lenses!
They're very comfy, and perfect for every-day wear. I highly recommend them!
And now on to my hair! I quite like the new color :3 Here's a close up of how it looked when dyed
I used the same hair dye as I did last time. It's very purple! It's fading to a more reddish-purple color, so it's lost some of those really pretty blueish tones, but I still think it's pretty.
Because my hair was so different, I decided to do a get ready with me sort of video, so I could experiment with some new makeup that could go with this look. I was going for a sort of kawaii-cyber-grunge kind of thing, and I'm not quite sure what I achieved, but that's ok, I still like it >u<
Here's the video! If you like what you see please subscribe to my YouTube, it would mean a lot to me ^_^
And a sort of photo of the makeup (though you can see it pretty well in all of the photos with the lenses)
It's nothing too intense, it's just a bit different from what I usually do c:

Anyways, thank you for reading!
Have a lovely day~
Byes!

Tuesday, October 20, 2015

My New Taro Purple Hair {and the Dyeing Process}~

Hi everybunny!
I'm so so so so excited for today's post!
I dyed my hair this weekend, and so I thought I'd share with you all how it turned out, as well as the process I went through to get it like this!
And.... here it is!

IT'S PURPLE I LOVE IT SO MUCH
I have a taro purple wig that I wore to Anime Boston this past April {read about it here!}, and I really loved the color of that wig, so I wanted to try something similar for myself. 
(Here's a photo of that btw, if you're too lazy to go read the entire post hehe)

I hadn't seen any tutorials online for how to achieve that color, so I had to sort of guess it by myself, but I'm quite content with the results! I thought I'd share my process with you, in case you were curious, or if you wanted to try it out for yourself!
Anyways, let's start!

This is how my hair was at the start of the whole process. Not too great, right?
I knew that the whole split thing would make the dying process quite frustrating, what with the need to bleach one half for a bit before bleaching the other half. But, after a bit of fiddling, I managed to bring both sides to the same level of blondeness. Because I wasn't going for a light lavender color, I didn't have to worry too much about making it super duper light.
And here it is all bleached and frizzy (it's weird seeing myself with blonde hair- it's not a look I think I'll go for any time soon hehe).
Because I wanted my hair to be an ashy purple brown, I had to get rid of the warm tones in my hair. A toner would have been good for this (I know Manic Panic has one), but I only could've gotten one online, and I didn't want to wait for it to get shipped to me. Plus, toner is expensive, so I just got a cool toned ash blonde hair dye to go over this.
Here's the dye I used- it was only $3 and worked quite well! It left my hair pretty soft too.
The dying process, and my awkward face  (no makeup gasp!)
I also had the leftovers of a really good burrito during this time. Food isn't required during this process, but it's definitely recommended :3
Gosh it was delicious.

And here are the results after that dyeing!


I think it turned out good enough! It took (most of) the warm tones out of my hair, and darkened it a little bit too.
And now came the most stressful part: the purple dye
I couldn't use straight up purple dye because I didn't want my hair to end up dark purple purple. I diluted it with conditioner, so that there was a bit more dye than there was conditioner. This made the dye less potent, and more likely to turn out faded and not too stark on my hair.

The dye looked really dark on my hair, but I didn't want to dilute it too much, because the last time I did that when I tried to dye my hair pink, it hardly showed up at all. So it was a bit of a gamble, and I was scared that it either wouldn't show up at all, or would be super dark. 
But, the fates decided to align and...

Purple!
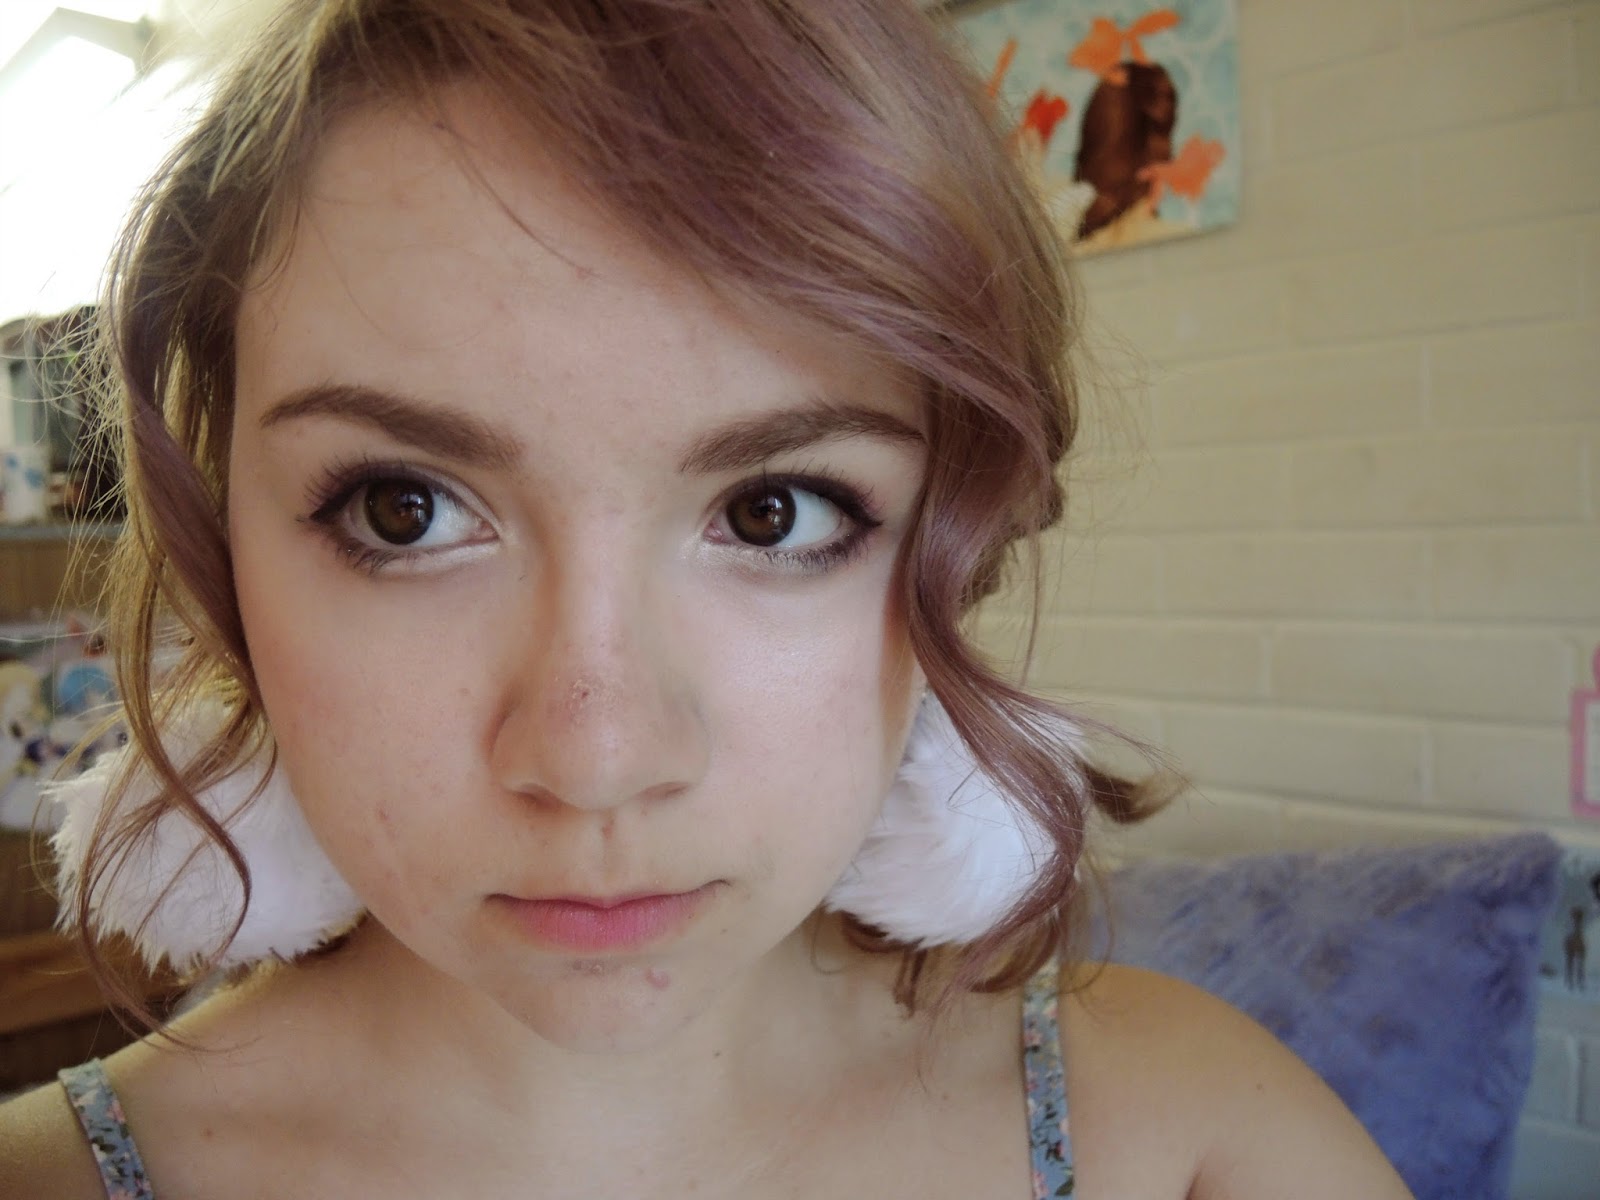
It looks different in different types of lighting- here's how it in the yellowish light of my room


There are some clearly very purple streaks throughout, and then places where it's more like a purplish ashy brown.
I really couldn't be happier with the result <3 I'm surprised of the streaks that were somehow created- they weren't intentional at all. 
I'm honestly surprised that it turned out as well as it did- it was definitely what I was going for <3 
I'm going to maintain this color for a while I think- I really love how it looks ^_^ And I still have some dye leftover from last time, so I'll be able to do it once again- yay!
And of course, more selfies to show off the fabulous colour~

For some reason this filter made the really purple parts look turquoise... but it does look pretty x3
Maybe I'll try that in the future hehe
Say hi to my cat!

Anyways, that's about it! 
What do you guys think of this haircolor? I'd love to hear your opinions!
Thank you for reading! 
Bye-bye!